


Enjoy! And be sure to post your experiences if you try this, and any pictures if you've got them!
Materials: 1 22"x32" piece of fabric; 30" of 1/4" elastic; thread

1. On each 22" side, fold down 1/2" to inside and press; fold down an additional 1" and press again.
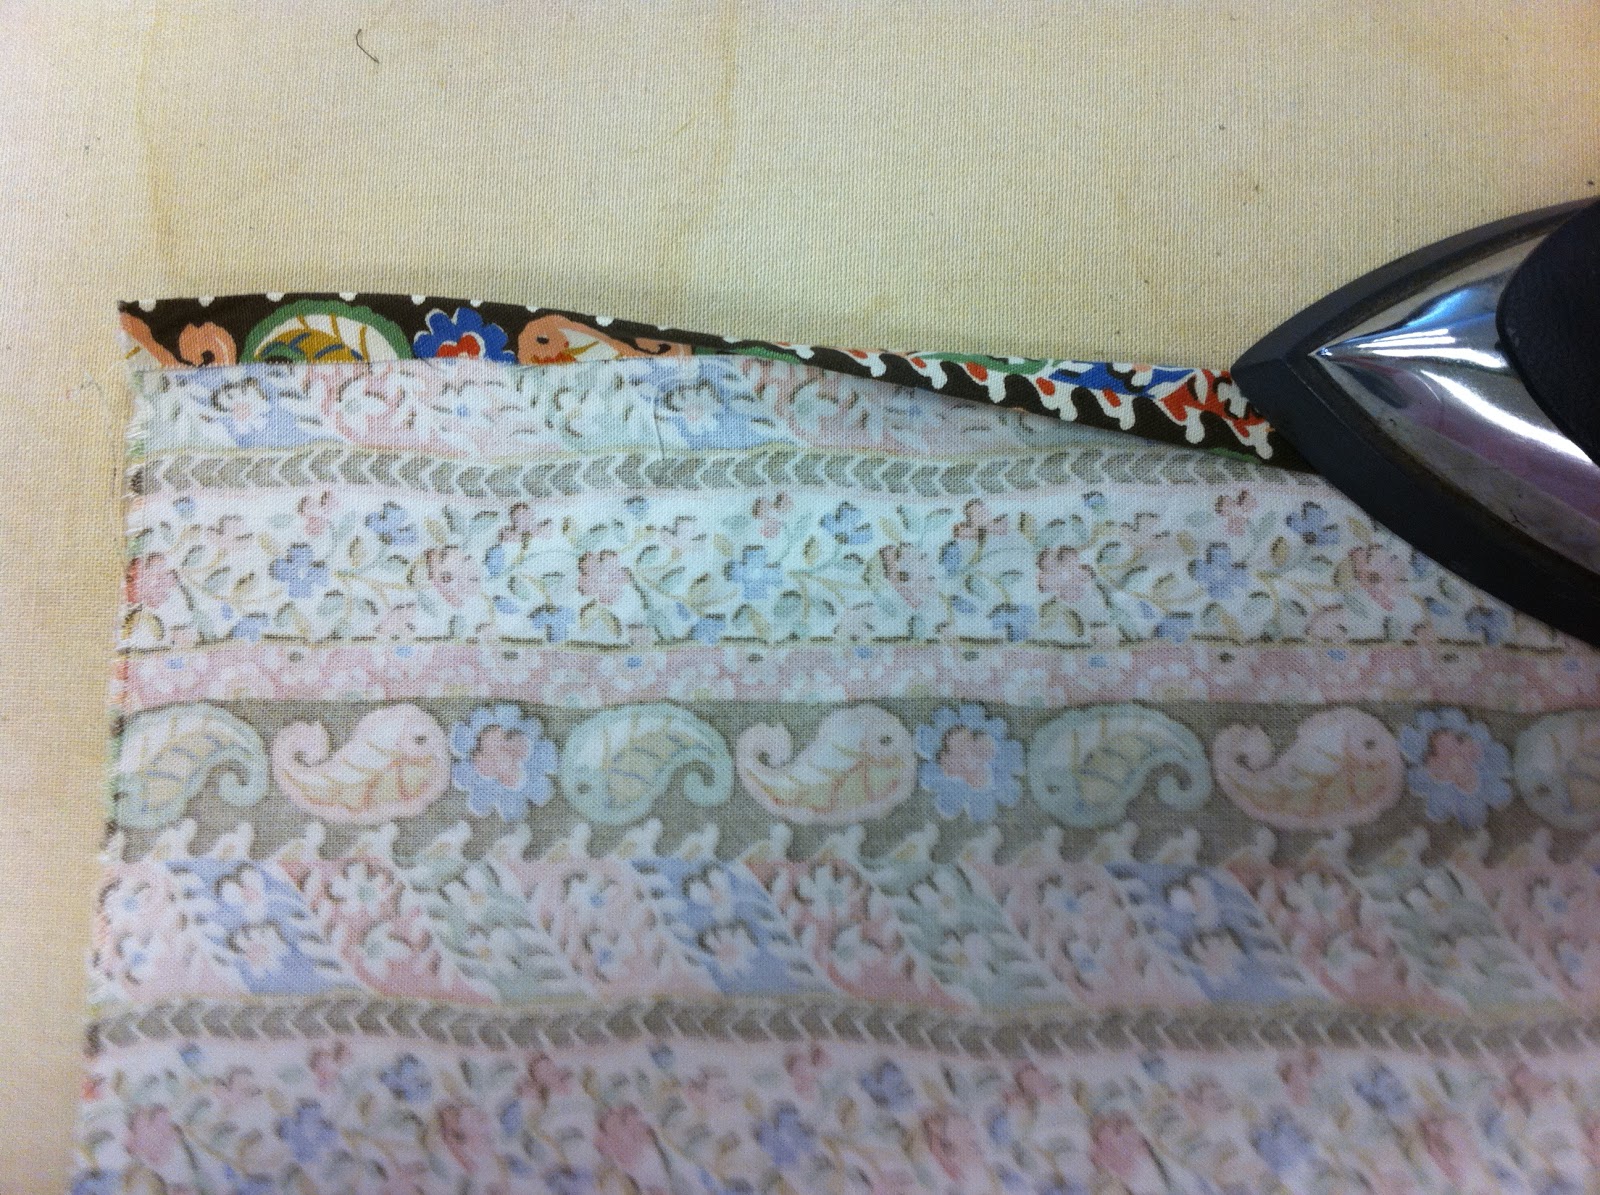
2. Unfold both pressed ends.

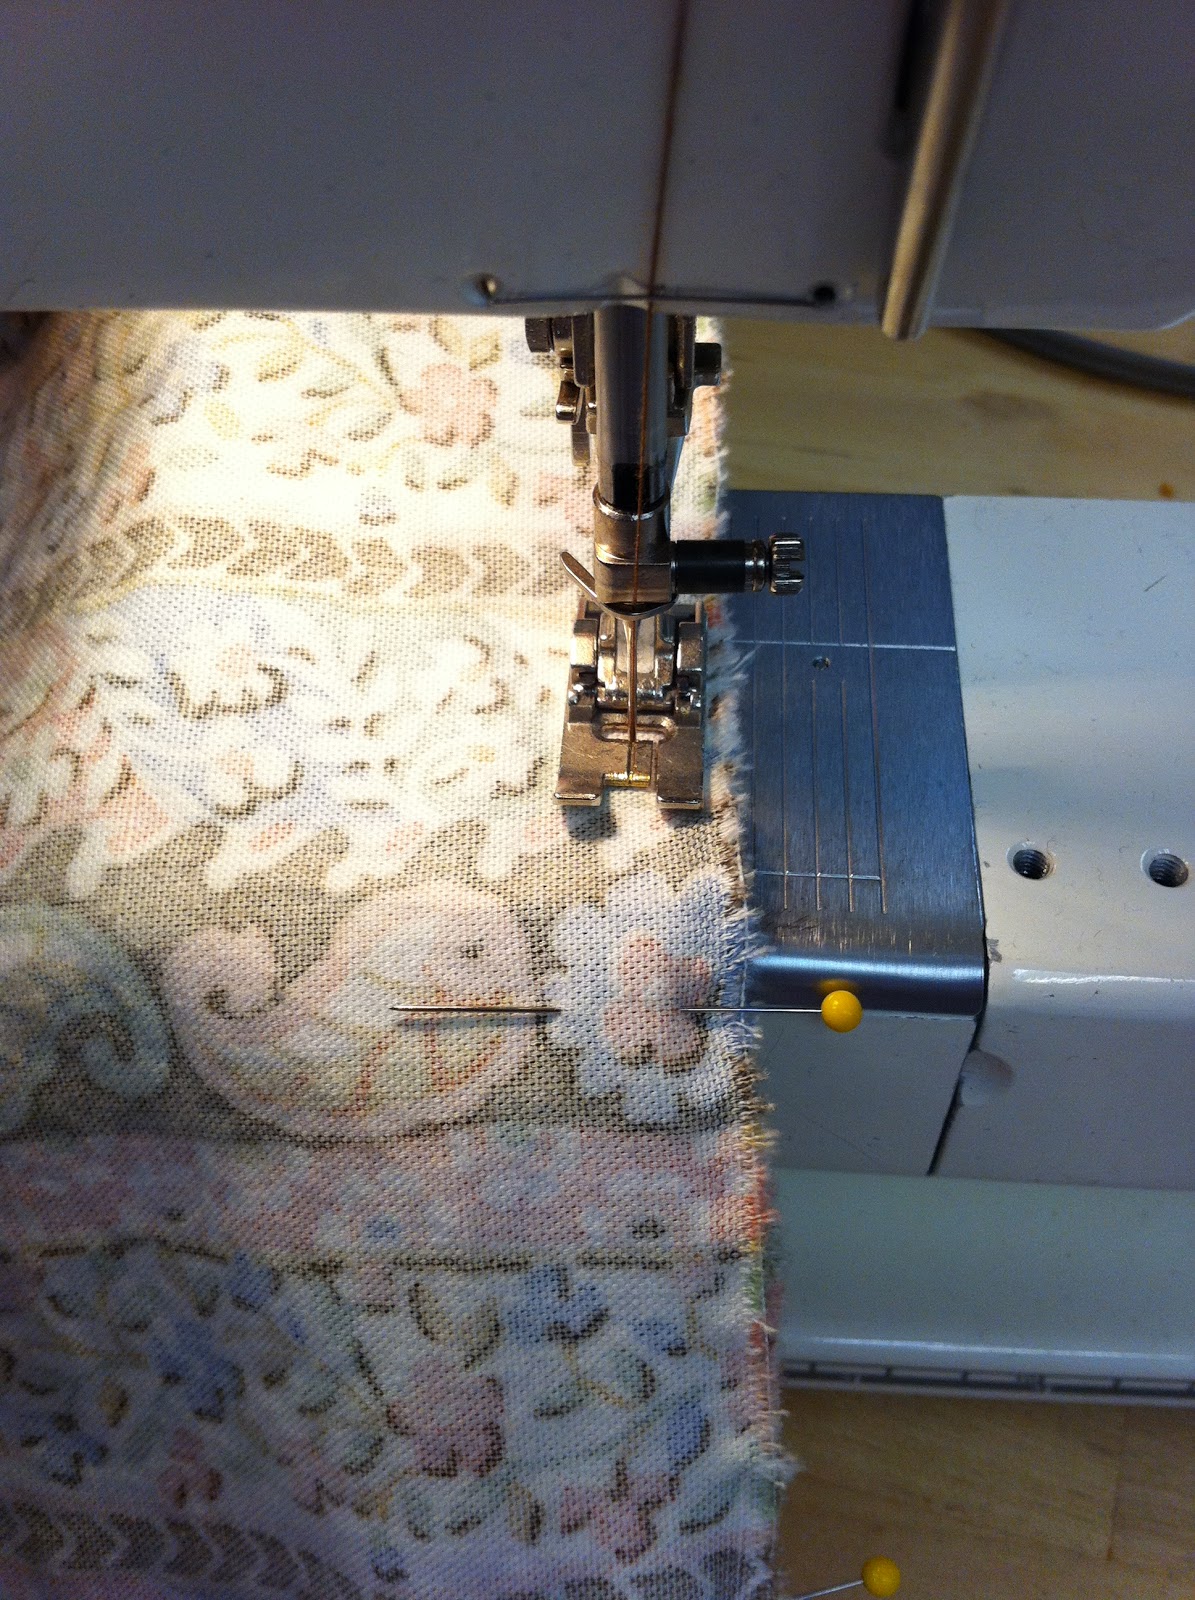 3. Right side to right side, pin 2 long sides and sew with 1/4" seam allowance.
4. Overlock seamed edge together.
5. To make the casing for the elastics: On ends, refold where you pressed in step 1, sew 3/4" from the folded edge and leave 1.5" open.

6. Using a safety pin, thread a 15" piece of elastic through the casing of the top, a 10" piece of elastic through the casing of the bottom.

7. Overlap and sew the ends of the elastics securely and flat.

8. Sew the casings closed.
9. Use the remaining elastic as a hanging loop: Sew to inside back seam at the top.

Here is the finished product! Congrats on finishing your first Shopbeat tutorial.


No comments:
Post a Comment